
This tutorial was written by Lynn on Aug 18th, 2009
Please do not copy this tutorial into other sites, email lists, etc.
Please do not copy this tutorial into other sites, email lists, etc.
Supplies needed:
PSP 9 (any version will work)
PSP 9 (any version will work)
Tube(s) and or graphic of your choice
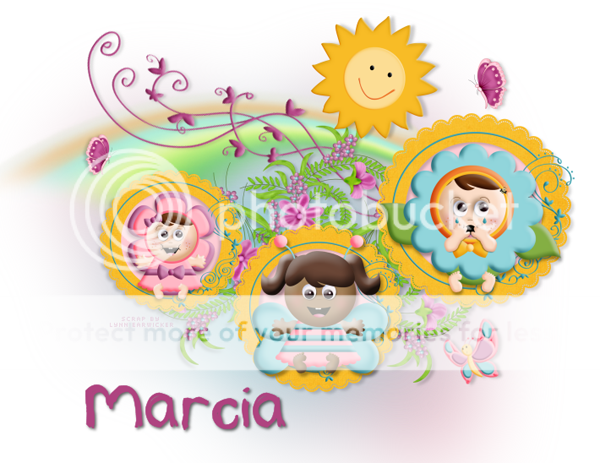
I used the dolls in my kit
Kit or supplies of choice, I used In The Between by me
Templates provided by me
Font of choice
The 3 circle template I used can be found HERE
Ok let's get started...
Open a canvas 750 x 750. Open rainbow that is within the kit. Copy and paste as a new layer. Rotate it so that it is more horizontal. (see my tag as example) Place it to the left a bit, you do not want it centered perfectly. You will be able to adjust as needed a little later.
Open doodle of choice. Copy and paste as a new layer. Resize as needed. Rotate it so that it is on a slight angle. Arrange it so that it is over the rainbow in the middle of it. Arrange it so that there is bits of the doodle overhanging over the top of the rainbow and the bottom of the rainbow as well. Add a soft drop shadow of choice when happy with placement.
Open template I supplied. Copy and paste as a new layer. Arrange it how you wish it to look. The idea is to place the largest circle almost at the base of the rainbow. (see my tag as example) When happy fill the circles with either a scrap paper or color of choice. Taking your magic wand now click inside the biggest circle middle. Expand x5. New layer. Fill with whatever color you wish for the middle. Selections none. Move this directly beneath the circle layer. Repeat this to the other 2 circles. Add a drop shadow of choice to each circle template.
Open the circle doodle frame found inside the kit. Copy and paste as a new layer. Now you want to resize it to fit within the template circles. You will do this three times total for 3 different sized layers. Arrange on top of each circle template. Add a soft drop shadow of choice when happy.
Open flowers of choice. Copy and paste as a new layer. Move them directly beneath all the circle template layers. Arrange how you wish them to look in the center and around the templates. (see my tag as example) When happy add a drop shadow of choice. Click back on the top layer.
Open a doll or tube of choice. Copy and paste as a new layer. Resize as needed. I arranged mine to look like they were sitting on the frames themselves. repeat this until all three circles have a tube or doll in them. When happy add a drop shadow of choice to each doll or tube.
Open the sun that came within the kit. Copy and paste as a new layer. Resize as needed. Arrange slightly above the rainbow, towards the end of the biggest circle. Add a drop shadow of choice when happy.
New layer. Take your freehand selector and set it to point to point. Draw out a ragged circle that will encompass different parts of your tag. Fill with a color of choice that compliments the tag. Selections none. Apply guassian blur 50%. Send to the bottom. Arrange how you wish it to peek out on the tag.
Decorate the tag with some butterflies as happy. Make sure to add each as a seperate layer. When happy add a drop shadow of choice.
Add your text where you are happy now. Apply any appropriate copyright information. Crop and resize as needed. Save as a png or jpeg and you're done.

No comments:
Post a Comment