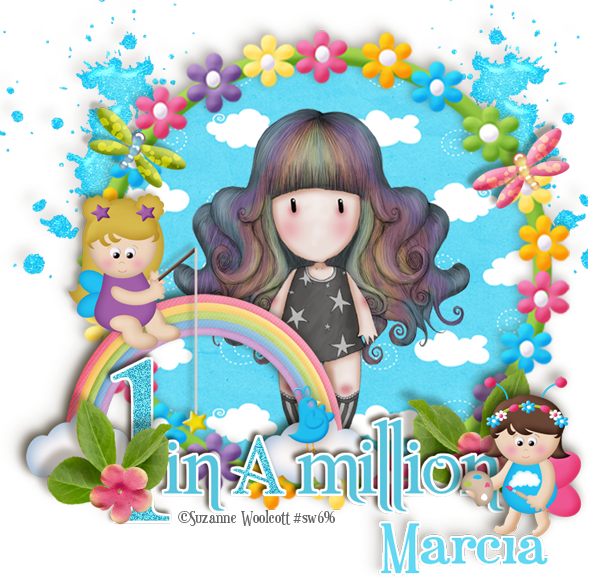
Supplies used in this Tutorial
Tube is the art of Suzanne Woolcott which you can get a license to purchase her art here.
Word Art is from Tamie from her Template 15. You can get this here.
Font used is Belshaw
Font used is Belshaw
All other supplies used are from the kit Faeries and Daydreams created by me which you can
purchase here. This is available in tagger sized.
Let's get started
Open a white canvas 600x600
Open up your flower frame and place this in the middle of your canvas.
Add a shadow of choice to the frame.
Use your magic wand tool to click inside of the frame and go to selections modify expand by 2.
Add a new raster layer and flood fill with a paper or color of your choice.
To Remove any excess paper go to selections invert and hit delete on your keyboard.
Next open up your tube of choice and place this in the middle of your frame above your paper fill. Then add a shadow of choice to the tube.
Open up the Rainbow and place this where desired.
Adding a shadow to the rainbow.
Open up your leaves and place these where desired around the bottom of your tag.
Open up the flower of your choice and place them at each end of the leaves.
Open up your fairies of choice and place them where you desire and add a shadow of choice.
Open up your word art and place this where you like it and then add your text .
Merge visible layers and save your tag as a png.
I hope that you enjoyed this Tutorial
Kristi


No comments:
Post a Comment